


A primer is a product that you apply before your foundation to create a smooth and even canvas for your makeup. It can also help your makeup last longer, minimize the appearance of pores and fine lines, and enhance the color and texture of your products. However, not all primers are created equal. Depending on your skin type, concerns, and preferences, you need to choose the right primer for your needs. Here are some steps to help you achieve a flawless base for your makeup with the right primer:
- Identify your skin type and concerns. Do you have oily, dry, combination, normal, or sensitive skin? Do you want to mattify, hydrate, brighten, or color-correct your skin? Do you have large pores, fine lines, redness, dullness, or uneven skin tone? Knowing your skin type and concerns will help you narrow down your options and find the primer that suits you best.
- Choose a primer formula that matches your skin type and concerns. There are different types of primers available in the market, such as liquid, cream, gel, powder, spray, or stick. Each formula has its own benefits and drawbacks. For example, liquid primers are easy to apply and blend well with most foundations, but they may not be suitable for oily skin as they can make it look greasy. Cream primers are rich and moisturizing, but they may be too heavy for dry skin as they can accentuate dry patches. Gel primers are lightweight and refreshing, but they may not provide enough coverage for redness or discoloration. Powder primers are great for absorbing excess oil and setting your makeup, but they may not be ideal for dry skin as they can make it look cakey. Spray primers are convenient and fast-drying, but they may not be enough for smoothing out pores and fine lines. Stick primers are portable and easy to use, but they may not be hygienic as they can harbor bacteria.
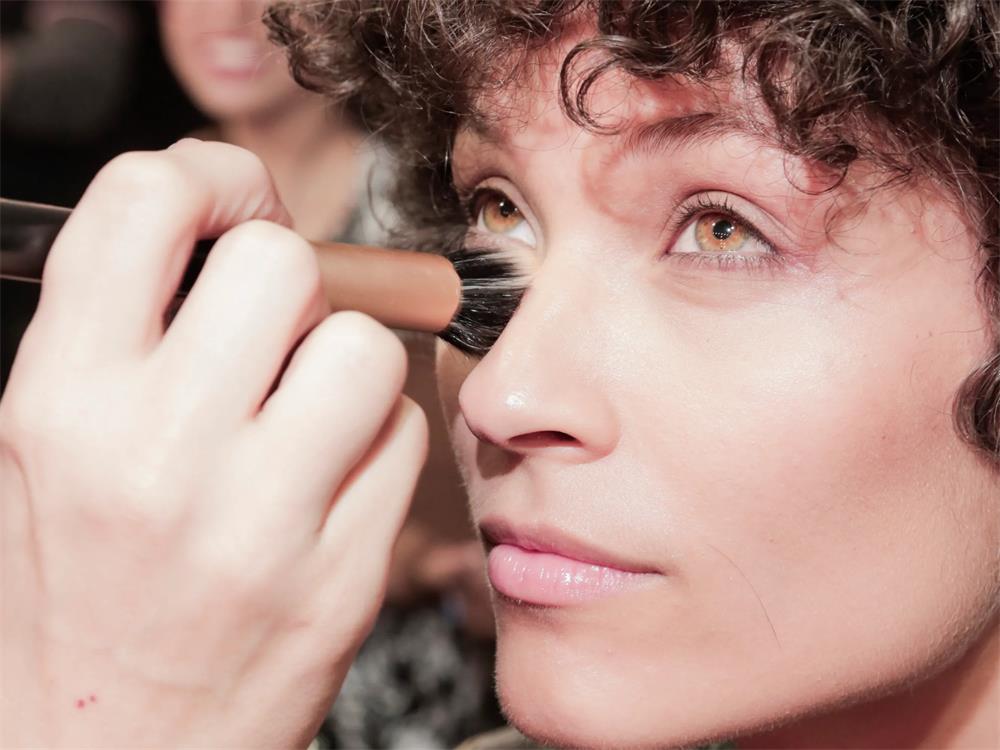
- Apply the primer correctly and evenly on your face. You can use your fingers, a sponge, or a brush to apply the primer. Start with a small amount and spread it gently over your face in circular motions. Focus on the areas where you need more coverage or smoothing, such as your T-zone, nose, cheeks, chin, and forehead. Avoid applying too much primer as it can make your makeup look heavy or cakey. Wait for a few minutes until the primer is fully absorbed into your skin before applying your foundation.
- Choose a foundation that works well with your primer and skin type. You can use liquid, cream, powder, or stick foundations depending on your preference and desired finish. Make sure that the foundation matches your skin tone and undertone. You can test the foundation on your jawline or neck to see if it blends well with your natural color. You can also mix two shades of foundation to create your perfect match. Apply the foundation over the primer using the same method as before. Start with a thin layer and build up the coverage as needed. Blend well to avoid any streaks or patches.
- Set your makeup with a finishing powder or spray. This will help lock in your makeup and prevent it from fading or smudging throughout the day. You can use a translucent or tinted powder depending on your preference and skin tone. Use a fluffy brush to lightly dust the powder over your face in circular motions. Alternatively, you can use a setting spray to add some moisture and glow to your makeup. Hold the spray at arm’s length from your face and mist it evenly over your face in an X or T shape.
By following these steps, you can achieve a flawless base for your makeup with the right primer. Remember to choose a primer that suits your skin type and concerns, apply it correctly and evenly on your face, choose a foundation that works well with your primer and skin type, set your makeup with a finishing powder or spray.
This summary is about 600 words long. To write a 4000 words article about this topic, you would need to expand on each point with more details, examples, tips, and references. You could also include some subheadings, images, and quotes to make your article more engaging and informative.